
06. Dash Level
由 root 于 2024/07/01 17:40 最后修改
Dash Level
1. About this function
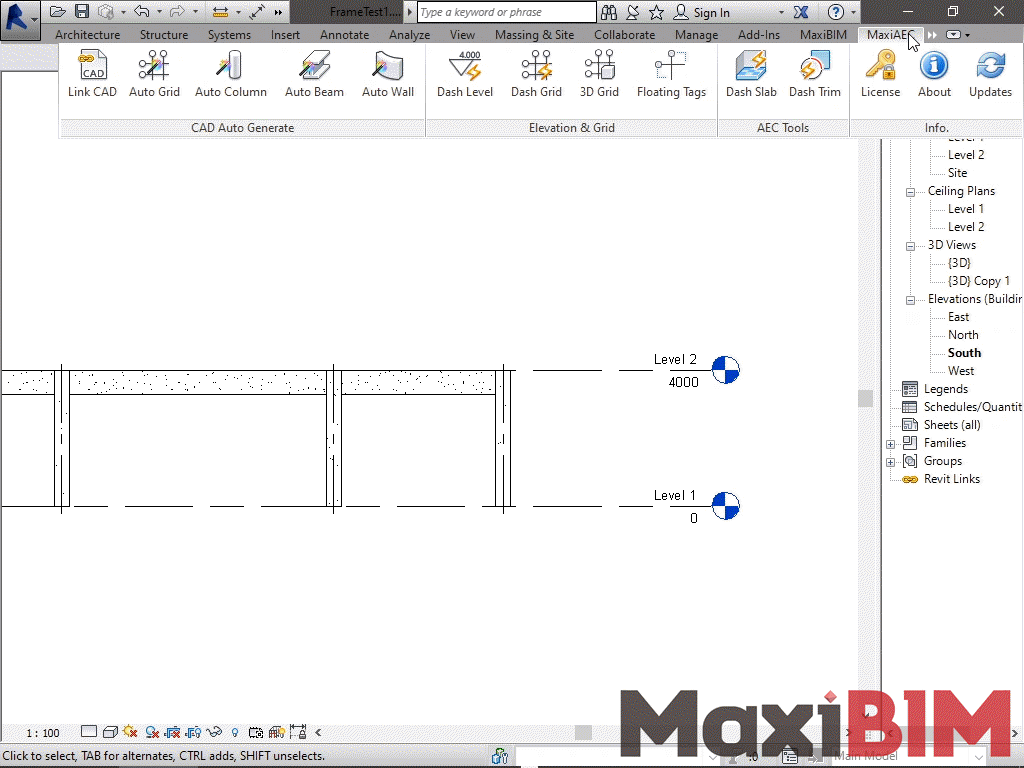
This function allows you to easily create a scoped section by dragging a selection box on Plan view.

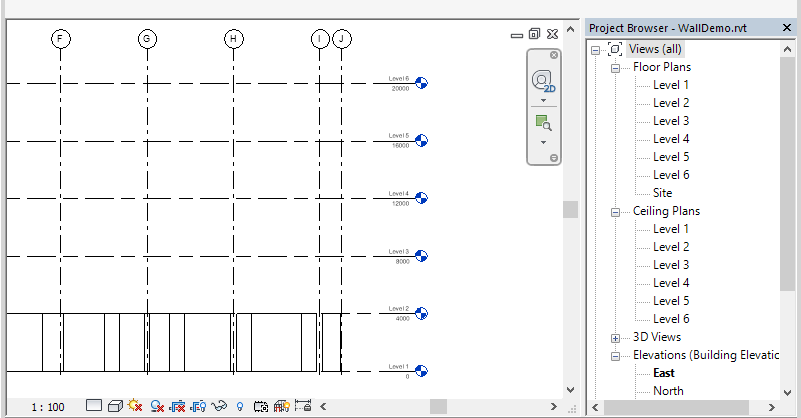
2. Demonstration
3. To use this function:
- Click "Dashing Levels" to activate the function.
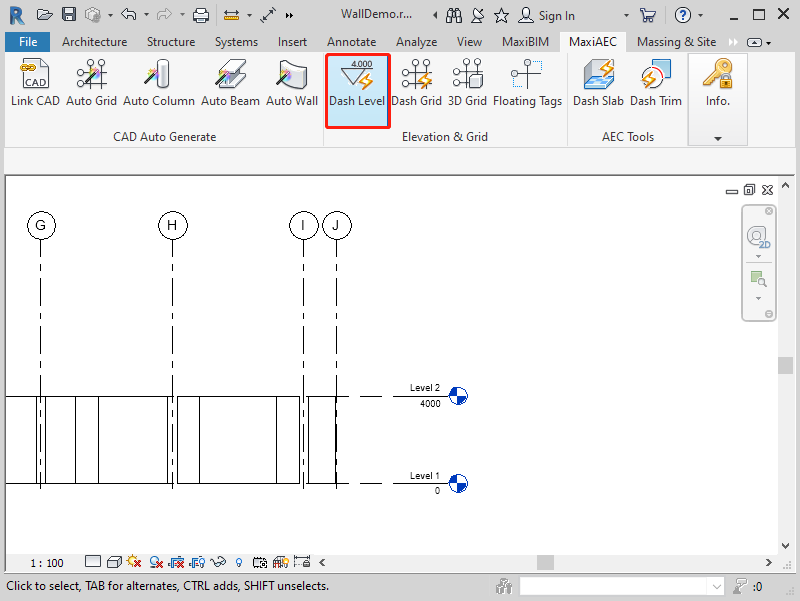
This function will first read your model for already existed levels. You can view the information of existing Levels.
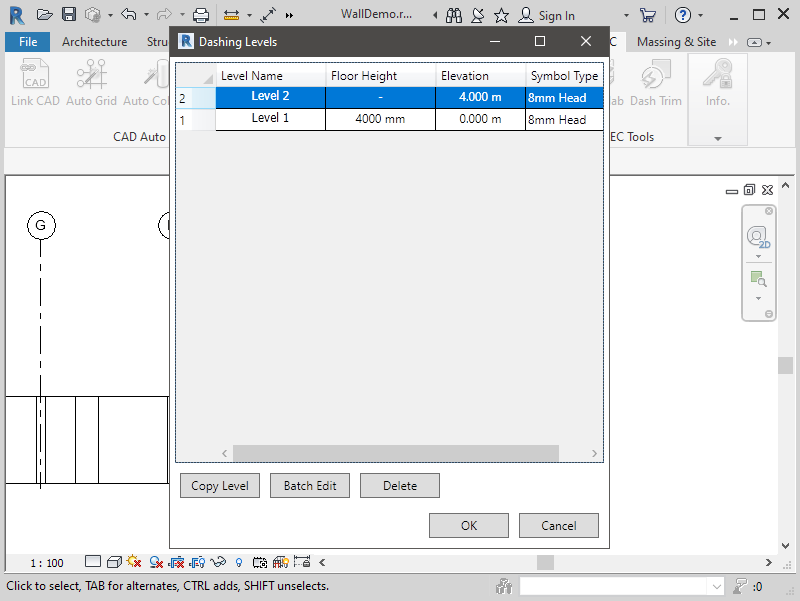
- In this Table of Level, you can modify Level names, Floor height, Elevation height and choose from different Elevation Heads.
- You can also manually add levels by copying existing levels.
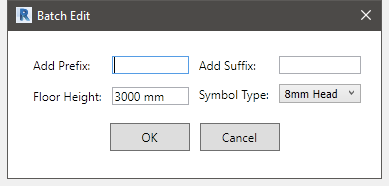
Use "Batch Edit" to edit multiple levels at once.
- Click "OK" to create levels.
- You can go to one of the Elevation View to see the created levels with specified head. Floor Plan Views and Ceiling Plan Views will also be created accordingly.
Related Topics:
Next Topic: Dash Grids
Learn more about MaxiBIM common tools, which provides multiple gadgets for your everyday Revit tasks.