
05. Auto Wall
由 root 于 2024/07/01 17:40 最后修改
Auto Wall
1. About this function
This function allows you to easily create a scoped section by dragging a selection box on Plan view.

2. Demonstration
3. To use this function:
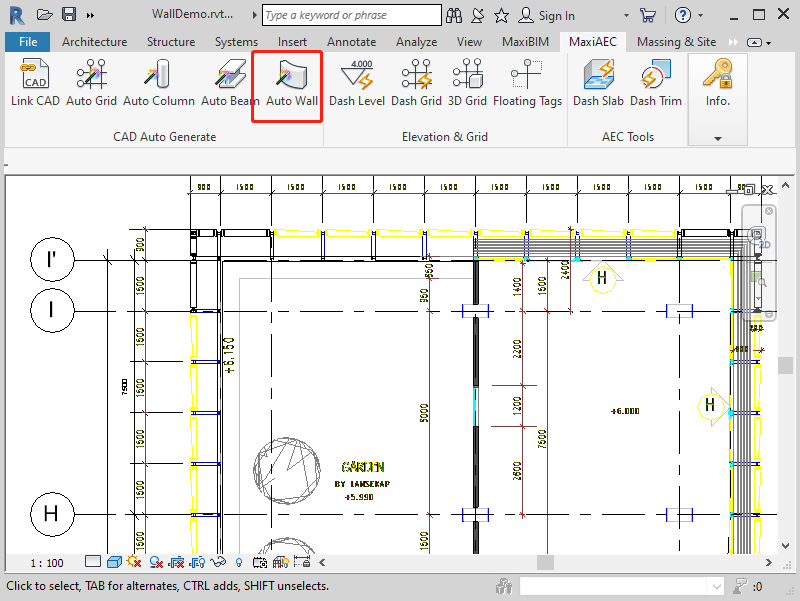
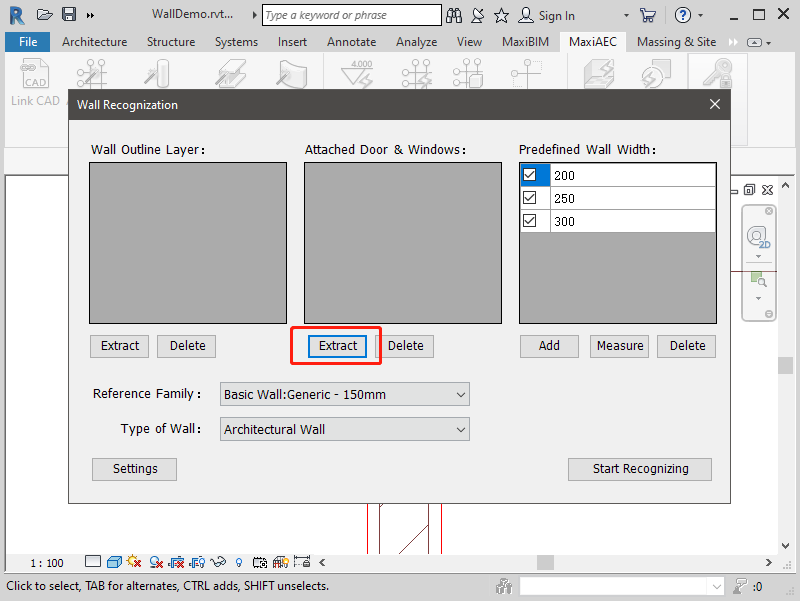
- Go to a Floor Plan View in which an architectural plan drawing is loaded. Click Auto Wall to start the function.
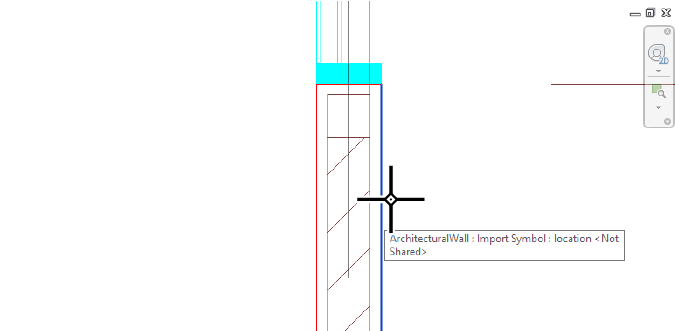
- First, click on the lines of wall outline to extract Wall Layers. This is to help MaxiBIM to locate the geometry information of wall.
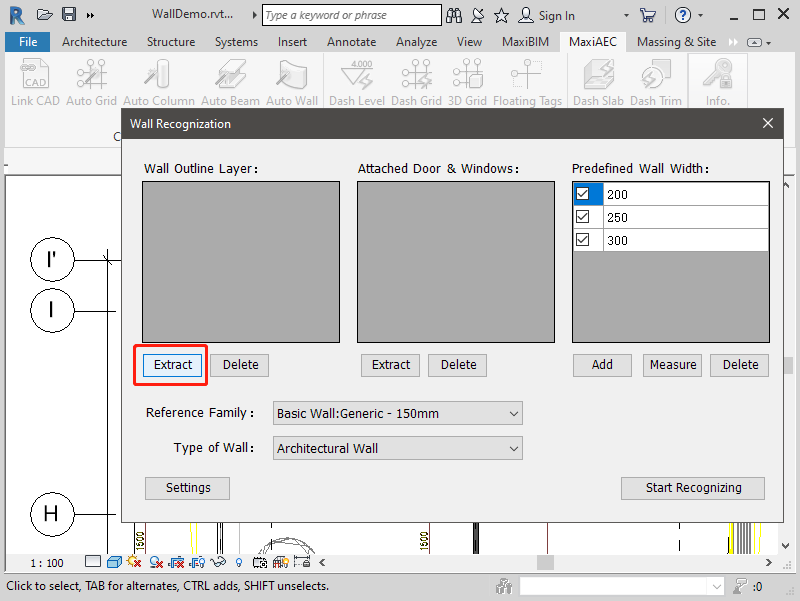
- Notice that you might want to distinguish wall surface layers between cores.
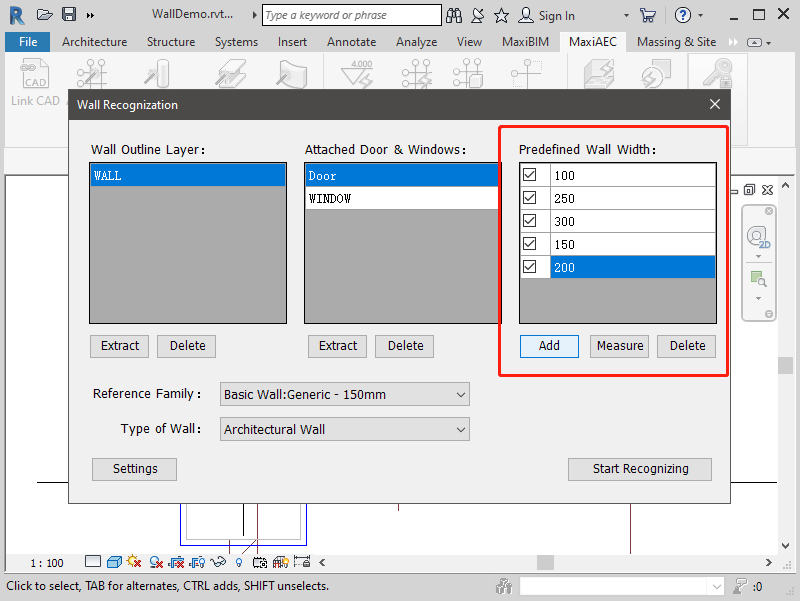
- You are also required to extract any windows, doors or any drawing elements that attached to walls from your drawing. This is to ensure the continuity of created walls.
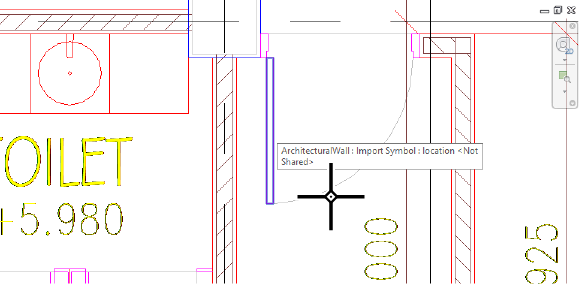
- It is easier for the software to recognise gaps in walls if all the components of an opening are picked (for example, if door frames and door panels are in different layers, they should all be picked.)
- To help you create walls with certain widths, you can input several values as wall width, or use the measure tool to detect the distance between two parallel lines.
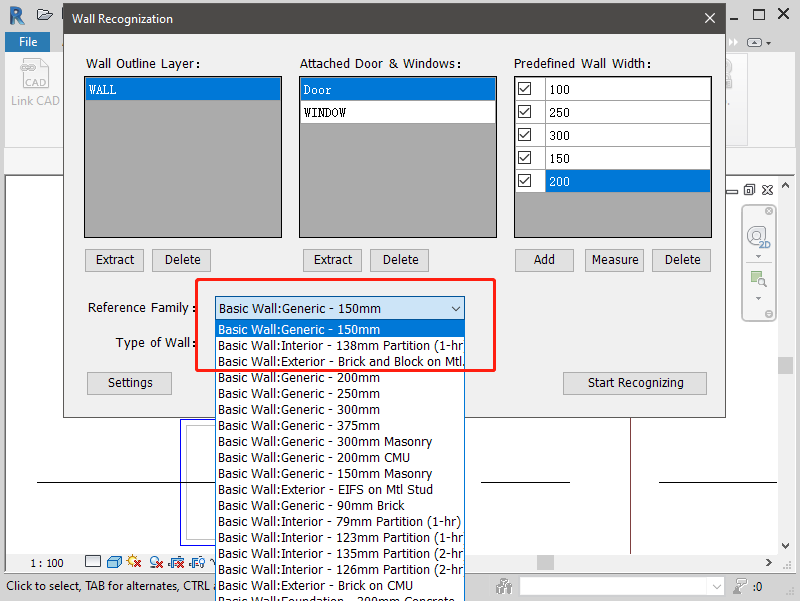
- On the bottom you can select from different wall families and type of wall for your creation. The width of wall type is only for reference and will not effect the walls you create.
- When you are happy with the extracted layers and settings, click "Start Recognising" to initiate the process.
- A table with recognised walls will pop up to help you preview before creation.
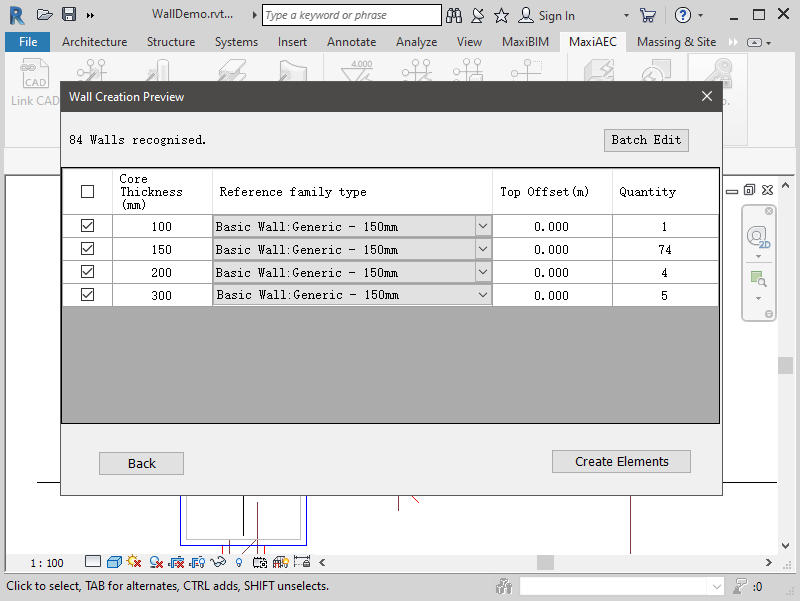
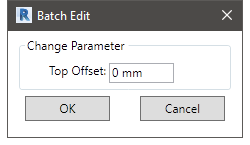
- You can manually change the dimensions and each type of wall in the table.
- For each type of wall with specific width, you can assign a reference wall family to it.
- Click the "Create Elements" Button to create walls with these properties.
- Wait for the process. It may take several seconds.
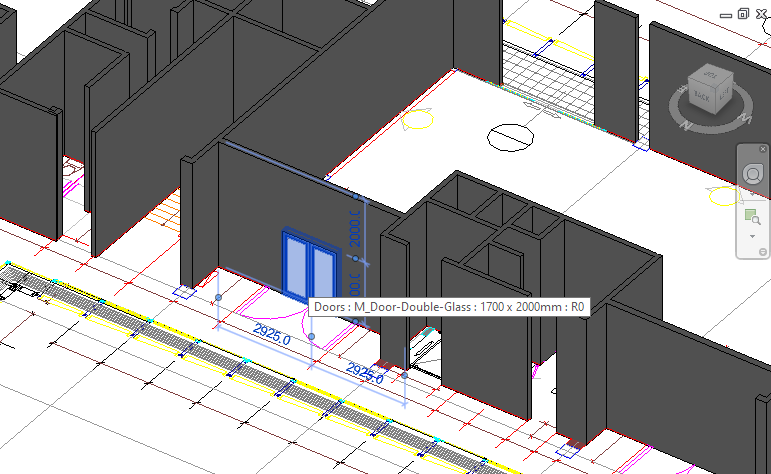
- As you can see in the model, walls are continuous at the location of openings, which allow users to add doors and windows.
Related Topics:
Next Topic: Dash Levels
Learn more about MaxiBIM common tools, which provides multiple gadgets for your everyday Revit tasks.