02. Auto Grids
Last modified by MaxiBIM Admin on 2021/07/01 21:10
Auto Grids
1. About this function
- Read gridlines in your linked CAD drawing to create Revit Grids with your family and style.

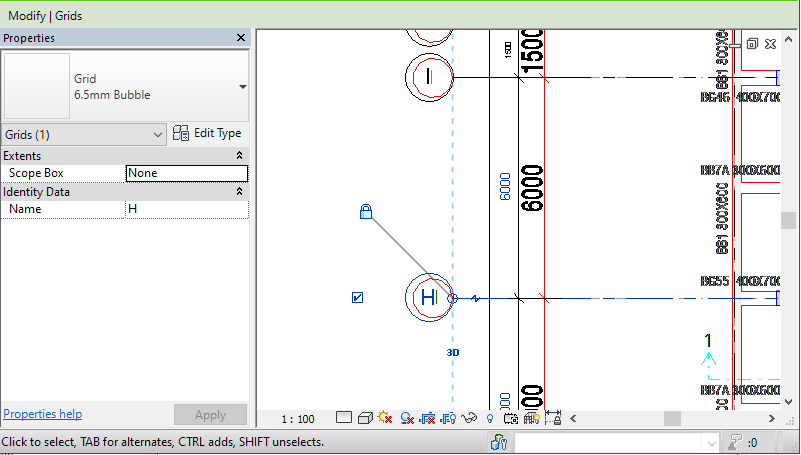
2. Demonstration
3. To use this function:
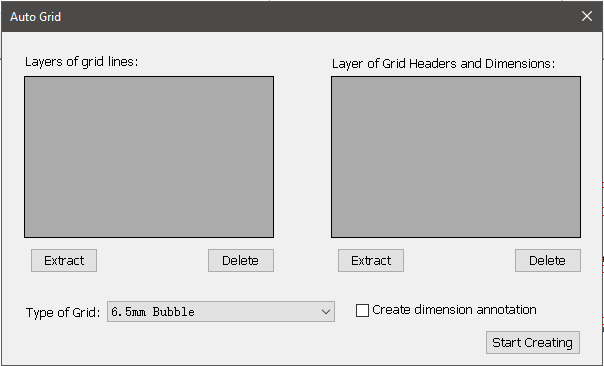
- First, go to the Linked CAD file in plan view and click "Auto Grid".

- You can find two columns of layers in the Pop-up window. MaxiAEC allows you to extract drawing lines in CAD file for different grid parts.
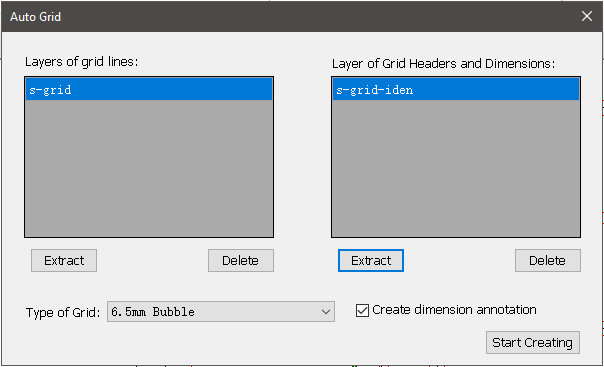
- To read the grid line layer in the drawing, click the Extract Button and pick a grid line. That layer will be recognised as grid line.
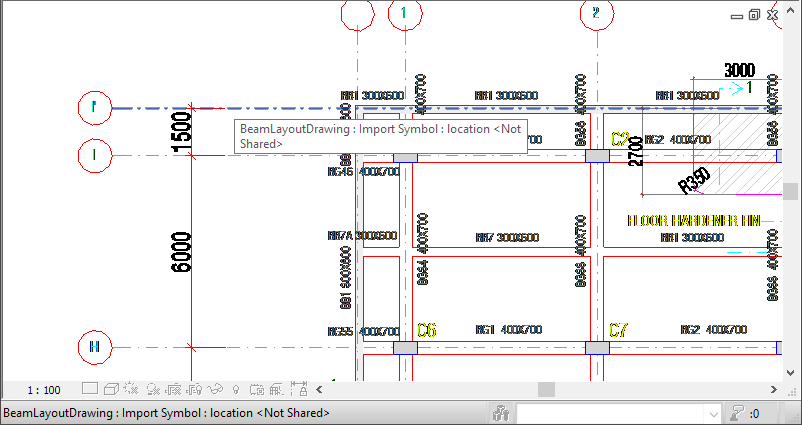
- Do the same for Grid headers and annotations. You can view the extracted layers for different elements before creation.
- You can also choose between different grid header types, and decide whether you need dimensions between grids

- Start the creation, and you can see the created grids in your Revit project.
Related Topics:
Next Topic: Auto Column
Learn more about MaxiBIM common tools, which provides multiple gadgets for your everyday Revit tasks.