04. Auto Beam
Version 83.1 by MaxiBIM Admin on 2021/06/30 09:29
Auto Beam
1. About this function
When you have multiple view windows opened as tiles, and want to zoom in or pan across the model for a detail look, you might find it hard to apply those changes of perspective across to other views.
Sync Views can transfer the change of perspectives between synced views.
2. Demonstration
3. To use this function:
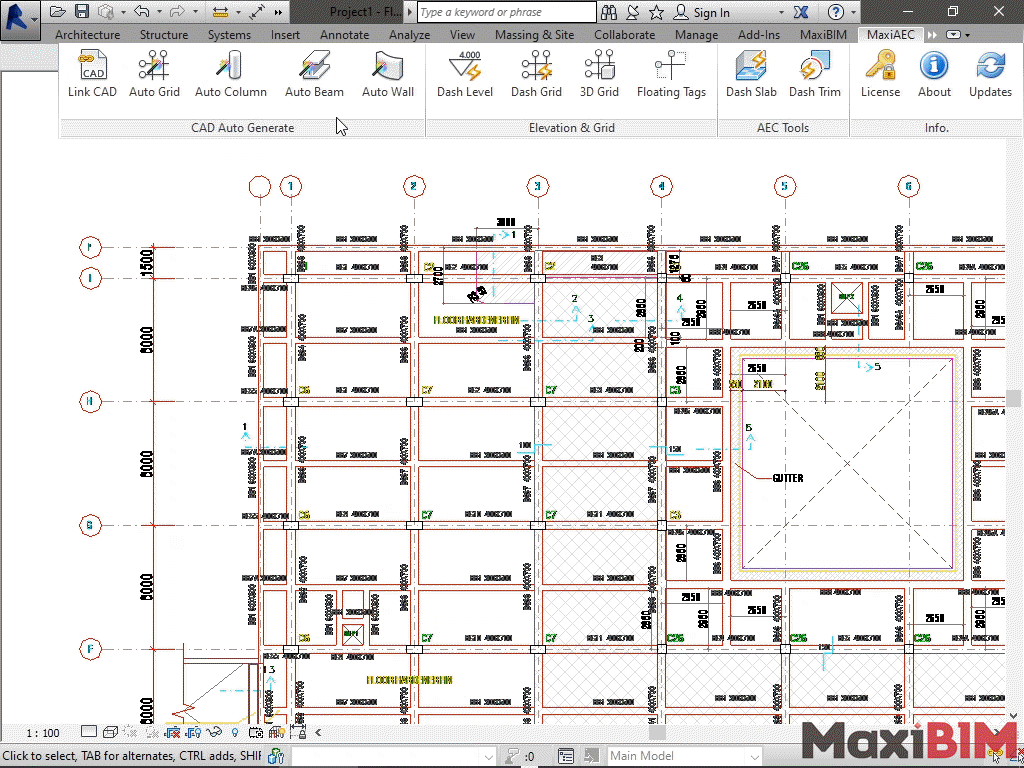
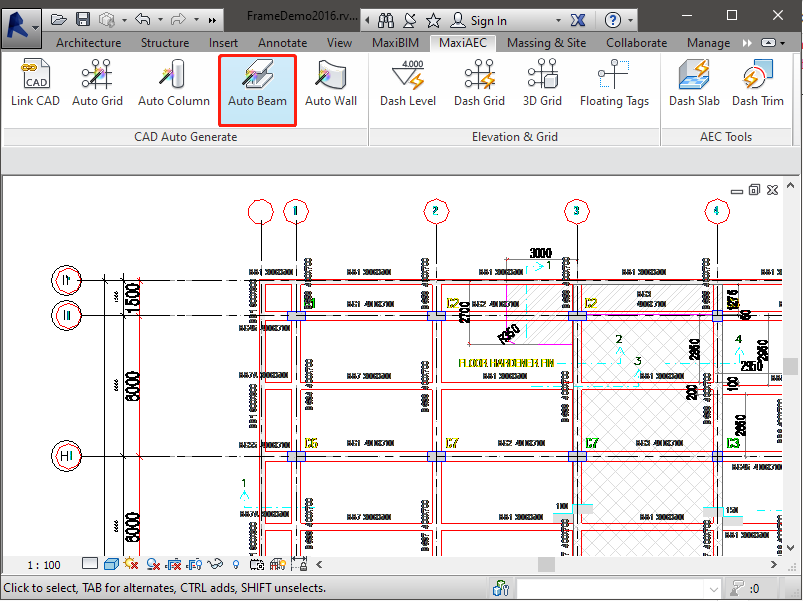
- Go to the Floor View on which you want the created Beams and then click "Auto Beam" button.
- In the pop-up window, you can find two columns of layers for extraction. MaxiAEC allows you to extract drawing lines in CAD file for Beam geometry.
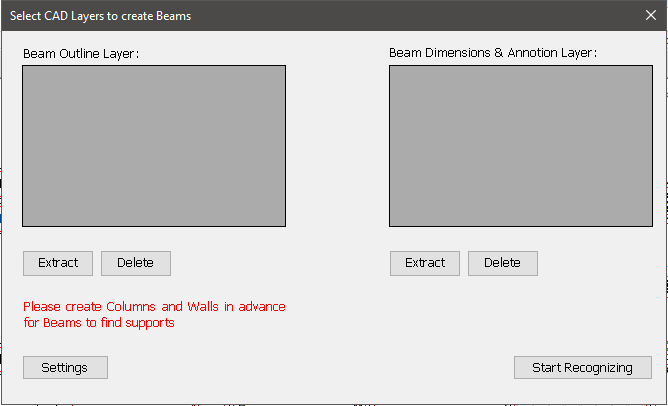
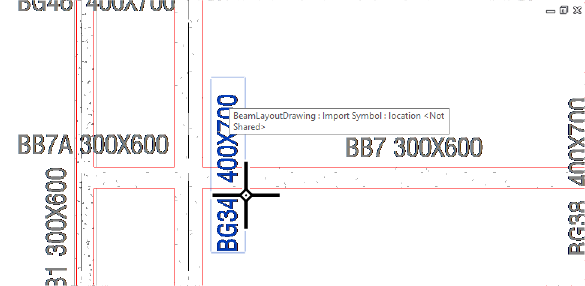
- pick the beam outline in your CAD Drawing.
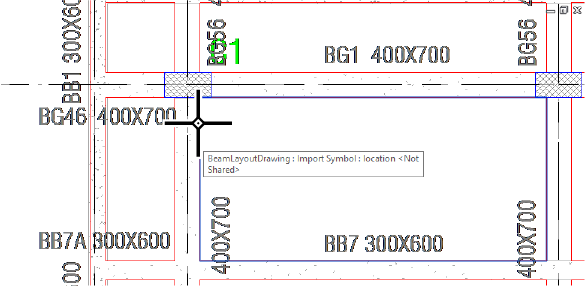
- Annotation of beams are required to create building element with correct heights. Pick the annotation layer in the drawing, and the marks will be linked to the adjacent beams.
- The settings provide you some further options. You can decide how your beam elements will be named and created.
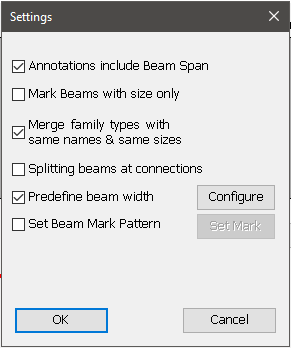
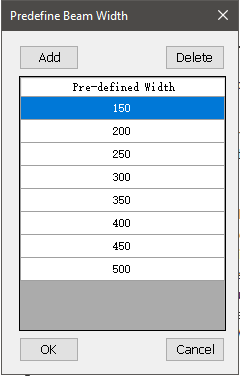
- To help you round up potential irregular Beam sizes and manage the types of beam you want to create, you can define several beam width before recognisation.
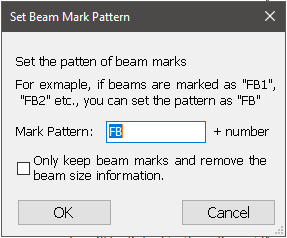
- Also, when you find it difficult for the software to recognise beam marks, you can set a pattern for the mark to help the differentiation.
(For example, if your beams are named as FB1, FB2 and so on, enter FB in the field for better effect).
- Click "start recognisation" to read the DWG file. You can preview the beam dimensions before creation. You can check the size and mark of beams in the table with your original drawings.
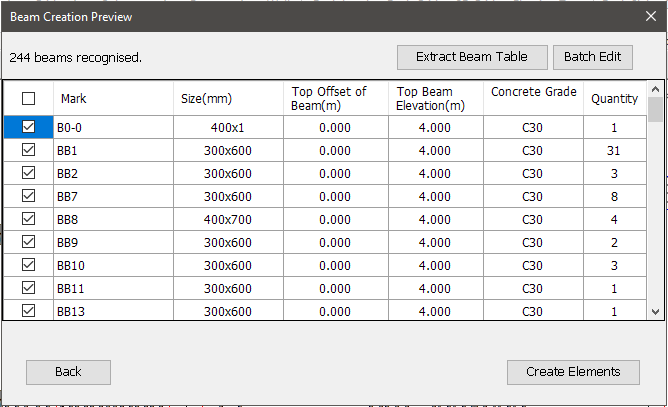
- As you can see in the list, some of the beams are not assigned with a valid height value. That value will be replaced with a 1mm height and you can modify that property manually.
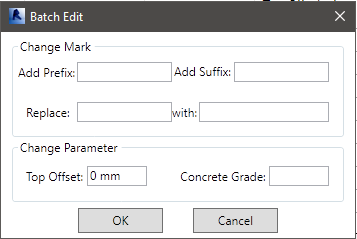
- Marks and size properties can be manually changed, or you can use batch edit to insert data that was not in the table at once.
- After you have filled all the necessary data for the beams, click "Create Elements" to continue.
- In 3D view, we can easily browse through the beam elements we have created. This image shows the created beams with accurate beam marks and properties.
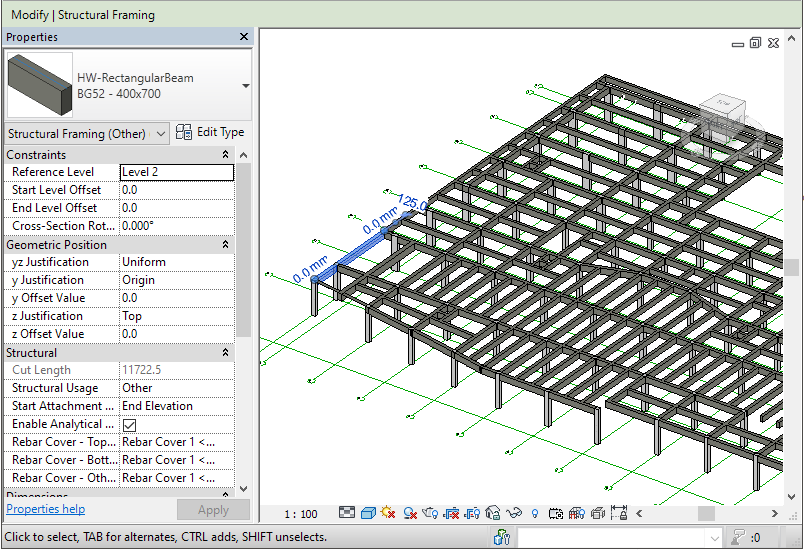
- Some beams failed to get a valid height value and are marked with a red appearance to warn the user. You can manually replace that particular beam, or try to rerun the process.
Related Topics:
Next Topic: Auto Wall
Learn more about MaxiAEC, a branch of MaxiBIM which provides methods to transfer your construction drawings to Revit model with precision.